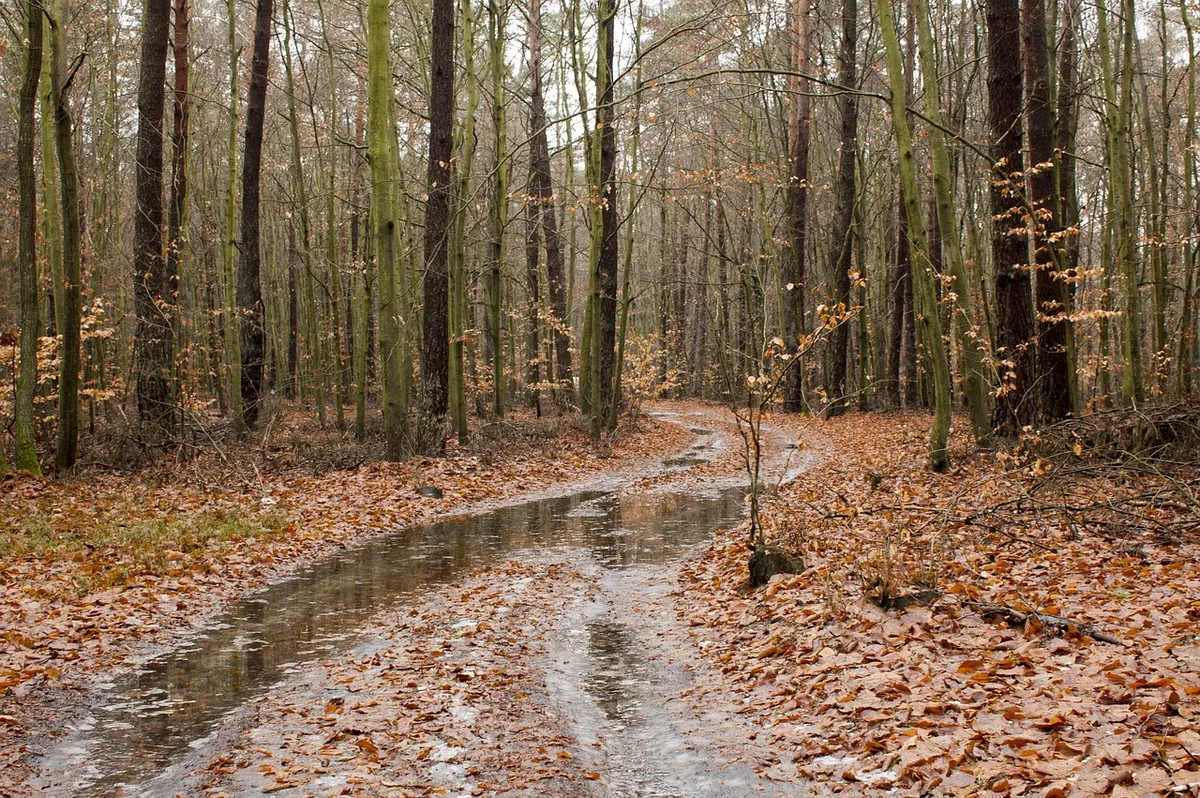
Rain changes a wood more than any other weather, and the day after it changes the wood in ways that last only a few hours. Bark goes almost black. Moss turns a green you cannot mix from memory. Every twig carries a line of drops, the path holds three or four mirrors, and the far side of the clearing has gone soft and grey. Then the sun comes over the ridge, the mist lifts, and the whole set of effects is gone until the next front moves through.
These twenty prompts are for that window. They are written for a sketchbook, two pencils and a small watercolour tin — no more kit than you can carry while wearing a raincoat. Work through them in order or pick the ones that match the weather you actually get.
Wet bark and the colour that lasts an hour
Wet bark does two things at once: it darkens, often by two or three values, and it becomes far more saturated. On oak, the fissures go nearly black while the ridges pick up a pale sheen — and that contrast is exactly what makes a trunk read as round instead of flat. Start here, while the wood is still dripping and the darks are at their strongest.
- One tree, one square. Frame a 20cm square of bark with your fingers and draw only what is inside it. Ten minutes in pencil, then a second version in colour using two mixes: one warm brown-grey for the ridges, one cool near-black for the cracks. The point is the value jump between them.
- Three trunks, one light. Find an oak, a beech and a conifer within sight of each other and draw them side by side at the same scale. Beech stays smooth and holds water in a thin film; oak breaks it into channels; conifer bark soaks it up and barely shines. Label each with one word about how the water sits.
- The water line. Look at the base of a trunk where the rain has run down and soaked upward from the leaf litter. There is a darker band, often with a tideline. Draw the trunk from the ground to about knee height and put that band in first, before anything else.
- Mix six colours and label the ratios. Take a leaf of your sketchbook and fill it with swatches taken from life: wet moss, dry moss, lichen, a rain-darkened beech trunk, a soaked dead leaf, and a spruce needle. Write "3 blue + 1 yellow + touch red" next to each. This page will be worth more to you in June than any photograph.
- Look up. After rain, leaves are translucent and the gaps between them turn into bright, oddly shaped holes. Draw the canopy from directly below and treat the sky as the subject, not the branches.
Droplets, close and closer
Droplets defeat most people because they start by drawing the outline of the water instead of what the water is doing. A drop is a lens. It takes the shape behind it, flips it upside down, squeezes it into a circle, and adds one hard highlight on the side facing the light. Draw those three facts and the drop appears without any outlining at all.
- The one big drop. Find a single large drop on a leaf and give it half a page. Put in the inverted shape first, small and simplified, then the shadow under the drop, then the highlight last, left as bare paper. Do not draw a circle around it.
- A row of beads. Grass blades and thin twigs hold water in a line. Draw the row and notice how the drops get smaller toward the tip and how each one has its shadow on the lower edge only. Leave a fine white gap between drop and shadow.
- Web with beads. Sketch the web lightly, in a broken line, then draw only the drops sitting on it. Most of the web stays as white paper. It reads as a web because of the beads, not the threads.
- Drop on a curled leaf. Use toned paper if you have it. Draw the leaf in two tones of pencil, then lift the highlights out with an eraser and add a single dot of white for the drop. Fast, and it teaches you to save your lights.
Puddles are the easiest mirror you'll ever draw
A reflection is simpler than the thing it reflects. It is already flat, already framed by the puddle edge, and already simplified by the water. The mistake is outlining the puddle first and then colouring it in. Put the darkest reflected trunks down as shapes, work outward, and let the puddle find its own edge.
- What is reflected, not what is there. Choose a puddle with a trunk leaning over it. Draw the reflected trunk — shorter, wavering, darker than the real one — and skip the trunk itself entirely.
- The thirty-second ripple. Drop a small twig into a puddle and draw the rings in quick thirty-second sketches as they spread and fade. Three or four on one page. Note the wind direction in the margin; it will explain half of what the rings did.
- Who walks here. Puddles on a soft path hold tracks — deer slots, dog paws, boot treads, the shallow groove of a bike tyre. Draw them from the side as well as from above; a track seen at a low angle tells you how deep the mud was.
- Stream verticals. Slow water under trees gives you broken, wavering verticals. Draw them deliberately short and slightly staggered rather than one long stroke. The breaks are the whole effect.
Mist, distance, and the case for three values
Mist removes detail and hands you composition for free. It separates the wood into a dark near plane, a middle grey, and a pale far plane, which is the same structure you would invent in a studio painting. On a misty morning you can simply copy it.
Squint until the scene collapses into three shapes. If it still reads, it is worth drawing.
- Three values only. Make one sketch using nothing but a dark pencil, a mid pencil and bare paper. No lines, no texture, no bark patterns. Everything within ten metres is dark; the middle distance is one grey; anything beyond is paper.
- Leave the mist as paper. Draw only the trunks that are close enough to see clearly and stop your marks where the fog begins. Resist the urge to fill the gap with pale grey. The empty paper does the work better.
- Only the bright gaps. When light comes through after rain, draw the shafts and the lit patches on the ground, and leave everything else almost untouched. It is a strange exercise and it teaches you to compose with light rather than with objects.
- The cooling row. Draw a line of trees receding into mist. Keep the nearest in a warm green and add a little blue-grey to every mix as you go back. Lay the wash on damp paper so the edges soften; crisp edges at distance will kill the depth.
Three longer studies for a steady drizzle
If the rain settles in and you are standing under a spruce with an hour to spare, these three hold up better than a page of quick notes.
- A thirty-minute panel. One dominant wet trunk in the foreground, a band of soaked leaf litter at its foot, and a misted middle distance. Three values, one colour accent, and no detail beyond the trunk. This is the exercise to repeat in every wood you visit.
- A rain palette chart. Fill a whole page with colour notes taken from one small area — say four square metres of path edge. Paint each swatch twice: once as a flat chip, once as a thin wash over a damp surface, and see how differently the wet wood actually behaves.
- The drying study. Draw the same view twice, forty minutes apart, and write the time in the corner of each. You are not trying to make two good drawings; you are recording what the light and the water did. Most people are surprised by how much changes and how quickly.
Working wet: a short practical note
Keep the kit small and the paper sealed. A hardback sketchbook with a sheet of blotting paper inside, two pencils (2B and 4B), a waterbrush or one small round brush, a rag, and a plastic bag to kneel on will see you through an afternoon. Pencil survives drizzle; watercolour does not, so do your value studies first and save the colour for when you can shelter. Keep the book closed between drawings and blot the page before you shut it.
Stand still for a minute before you start. Half the effects you came for — the sheen on a trunk, the beaded web, the reflection — appear only from one particular angle, and you will find them faster by moving your head than by moving your feet. Work the darks in early, because the rain is already lifting them.
Leave the wood as you found it: no picking moss, no rolling logs for a better view, no moving stones in the stream to make a nicer reflection. Wet ground is fragile and wet roots are slippery, so stay on the path where the boardwalk is muddy and keep an eye on the sky. Cold hands make bad drawings; fingerless gloves and a warm flask make better ones.
Photo: tomek7po / Pixabay