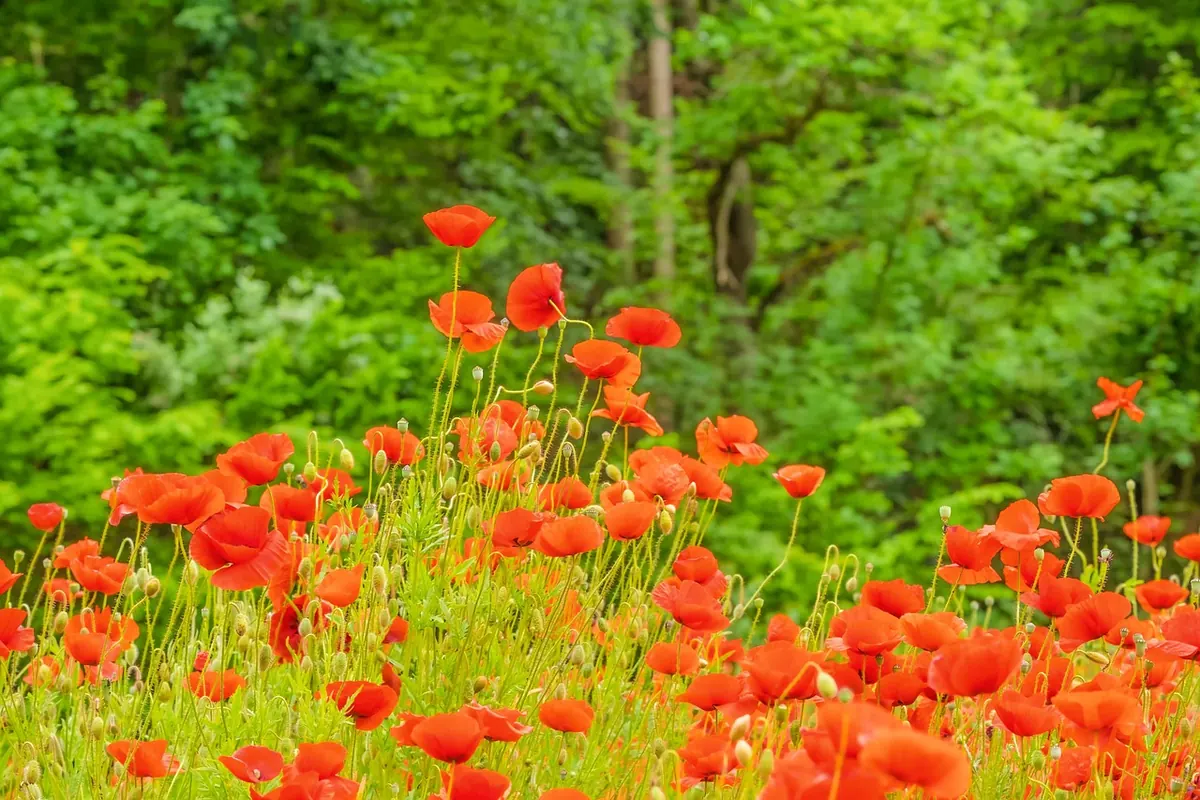
By the end of August, a Mediterranean wood has stopped pretending to be lush. The holm oaks hold their green through the heat, but the grass beneath them has gone to straw and the paths are loud underfoot. This is the moment the edges become worth the walk. Where the canopy thins and the scrub takes over, a single view gives you layered silhouettes, hard summer light, and plants that keep their shape even when they are half dry. The trick is learning to see those layers before you commit a single line.
A woodland edge is rarely a tidy line. It is a strip, usually a few metres wide, where the canopy breaks and full sun reaches the ground. Soil is thinner there, animals browse it, and fire has often shaped it. That disturbance is exactly why it is rich: lentisk and strawberry tree crowd the shaded side, rockrose and heather claim the open ground, broom pushes up through the gaps, and bramble and smilax tangle through everything in between.
Walk the edge before you draw it. Follow the border for ten minutes and you will notice it turns, dips and widens rather than running straight. Find one of those corners — a hinge where the edge changes direction — and sit down with the lit side facing you. Most people make the same mistake here: they stand in the open and look straight into the trees, where everything collapses into a dark mass. Turn ninety degrees and look along the edge instead, and depth appears at once: a bright run of dry grass in front, shrubs in the middle distance, dark canopy behind.
Squint until the detail disappears. What remains is a stack of horizontal bands, and those bands are your composition. Give each one a job and a value before the pencil moves.
Make a thumbnail the size of a matchbox with three tones only: light, middle, dark. If the thumbnail reads, the drawing will. If it does not, no amount of leaf drawing will rescue it.
Three values, not thirty. Decide them in the first two minutes, then keep them.
Dry grass defeats people because they try to draw all of it. False oat grass droops in heavy arcs, brome nods on thin stems, fennel holds up flat umbels like scaffolding, and wild carrot has already gone to brown seed cups. None of that needs counting. Draw the clump as an arc with a dark base and a light top, then place six or eight individual stems where the shape turns or catches the light. The eye fills in the rest.
Use a stroke that tapers: press at the root, lift as the pencil leaves the tip. Speed matters more than accuracy. A slow, even line looks like wire; a quick one looks like it grew.
Leave paper white for the seed heads against the shade. That single untouched patch will do more for the sense of sun than any amount of yellow.
Start with the outline of the entire plant, not with its leaves. Lentisk is a dense dark cushion, lumpy at the top and hollow underneath where the light never reaches. Rockrose is looser and more brittle, with crumpled seed capsules where the white flowers were in spring. Strawberry tree gives you red bark and small bell flowers in autumn, which is worth noting in the margin for a return visit.
Once the silhouette is right, describe leaves only where the edge meets sky or a lighter background. The interior of a shrub can stay as loose scribble or a flat wash; it will read as foliage because the edges told the truth. The gaps between branches are just as useful. Sky seen through a shrub is a shape, and drawing those shapes carefully is often faster than drawing the plant.
Late-summer sun in the Mediterranean sits high and hits hard. Shade falls almost directly beneath a plant rather than stretching away from it, so the dark sits under the leaves like a shadow puppet. Look for the bounce light on pale dust and stone — it warms the underside of shrubs with a soft ochre glow that fools you into adding too much colour. Put it in once, faintly, and stop.
Backlighting is the great gift of the season. Stand with the sun in front of you and grass heads, seed cups and the fine twigs of broom glow at the rim while their bodies go dark. Draw the dark mass first, then pick out the lit edges with an eraser or by leaving the paper bare.
Hills a few kilometres away lose contrast, not just colour. Push the far band lighter and cooler than feels correct, then let the near grass stay sharp. A limited palette does this well: yellow ochre, burnt sienna, an olive or sap green, ultramarine for the shade, and a warm grey. Shade in this climate is rarely neutral black — it leans violet or blue, warmed slightly by the ground beneath it.
Go early or go late. Between noon and four the light flattens, the cicadas drown out thought, and the heat is genuinely risky. Carry more water than you think you need, wear a hat, and use sun protection even under the trees. If you feel dizzy, headachy or unusually tired, stop, move into shade and cool down; if it does not settle quickly, seek medical advice. Long trousers are wise if you push through scrub, and check yourself for ticks afterwards.
Fire risk is real in late summer. Do not smoke while sketching in dry grass, and be careful with anything that can smoulder. Look before you sit — dry stone walls and tussocks are favourite places for snakes — and make a little noise as you walk so wildlife moves on first. Stay on tracks where land is private or cultivated, and take every scrap of paper and pencil shaving away with you.
You need less than you think: an A5 sketchbook with paper heavy enough for a light wash, two pencils, a kneaded eraser, a water brush and a small tin of five colours. Add a folding stool if you like sitting low, a hat, and a bottle of water. Aim for two drawings rather than six, and finish one properly. The edges will look different next week — the fennel will brown, the grass will fall — so record what is in front of you now, plainly and without decoration. That is the whole practice.
Photo: Couleur / Pixabay
A practical guide to reading a leaf’s shape, margin, veins and attachment before you draw, with a clear step-by-step...
Twenty specific sketching prompts for the woods the day after rain — wet bark, beaded droplets, puddle mirrors,...

A practical guide to drawing convincing tree silhouettes by reading outlines as single shapes, using sky holes as...

Sketches and inspiration from the forest.
