
A bare ash against a wet grey sky is the cheapest drawing lesson available. Most of us look at it and see a tree. Sketch it for a while and you start seeing something else: a dark shape with holes punched through it, sitting at a particular distance in the air. That shift — from naming the thing to reading the shape around it — is most of what makes a silhouette convincing. It has less to do with botanical accuracy than with two habits you can build in an afternoon: treating the outline as one closed form, and treating the sky as a shape in its own right.
None of this requires special materials. A soft pencil, a brush pen, or a flat loaded brush will all do the job, because the goal is a confident dark mass rather than fine detail. What matters is how you look before the tool touches the paper.
Beginners almost always draw trees additively: a few leaves here, a cluster there, building outward until something tree-like appears. The result is usually busy in the middle and vague at the edges, which is the opposite of how a real tree reads at a distance.
Try the reverse. Squint until the details disappear and the tree collapses into a single flat shape, then draw that shape as though it had been cut from dark paper. Eight or ten straight-line segments are enough to start. Commit to the outer contour before anything inside it exists. If the crown leans left and the whole mass has a heavy shoulder on the right, that asymmetry is the tree's signature — get it down early, while you still see it clearly.
A useful check: hold the drawing at arm's length and look at the silhouette only. If you flipped the paper upside down, would it still read as a tree? Upside down is a genuine trick, not a gimmick — it strips the name off the shape and lets you judge proportions as pure form.
The gaps of sky inside a crown tell you more about a species than the foliage does. A beech holds a dense, closed mass with a few sharp slivers of light near the top. A birch lets daylight through in loose, scattered flecks. An oak is a broad, chunky silhouette with deep notches where the main limbs divide. Draw the holes accurately and the tree identifies itself.
Measure with your pencil at arm's length. Find a gap that sits comfortably in the crown and treat it as your unit: this one is about half a unit wide, that one is twice as tall. Comparing gaps to each other is far more reliable than trying to judge their absolute size. Notice also that sky holes are rarely round. They are wedges, slots and slivers, and their long axes tend to follow the direction of the branches around them.
For a dense broadleaf tree, work backwards. Lightly outline four or five of the largest sky holes, then darken the foliage around them until the gaps sit correctly. It feels strange the first time, and then it feels obvious — you have been drawing the positive shape too hard for years while the real information sat in the gaps.
One practical rule keeps edges honest: if a gap is smaller than your pencil tip at arm's length, close it. Tiny holes read as texture, not shape, and they'll only make the silhouette look fuzzy.
Almost every tree reads well as three to five irregular clumps — a main crown, a lower shoulder, maybe a heavy limb pushed out to one side. Find those clumps before you draw a single leaf, and give each one a clear, simple edge.
Here the classic mistake is the scalloped edge: a wavy line of little bumps that looks like a cloud or a piece of broccoli. Real foliage edges are mostly long, decisive runs interrupted by a few sharp notches where a branch ends or a gap opens. Draw the long run first, then break it deliberately in two or three places. Fewer, larger irregularities will always beat many small ones.
A silhouette can still look flat. Four cues fix that, and none of them requires detail.
Lay in the palest distant treeline first, then the middle group, then the near tree on top of them. This order forces you to keep the far shapes simple, since you're painting or drawing them before you know what will cover them. It also makes the near dark shape read as genuinely in front rather than pasted on.
First, drawing the trunk before the crown. The trunk is usually the least interesting part of a silhouette and it will quietly pull your proportions off. Second, filling the interior solid black from the start; keep it slightly lighter than the outline so you can still adjust the holes. Third, adding leaves to fix a shape that isn't working. Detail never rescues a weak silhouette — it only hides it until you step back.
The fastest way to improve is repetition on the same subject. Pick one tree you can see regularly and sketch its silhouette in ten minutes, twice a week, in different weather and at different times of day. Same shape, different light. You'll notice after a few weeks that you no longer see foliage first — you see the outline, the holes, and the distance, which is exactly the order the drawing needs. Winter is the ideal season for this, with bare branches against a pale sky and no leaves to distract you. Take a small sketchbook, stand where the tree sits against open sky rather than a busy background, and give yourself permission to make a dozen quick, imperfect studies. The convincing ones will come.
Photo: TheDigitalArtist / Pixabay

A practical guide to sketching Mediterranean woodland edges in late summer, from reading the layered structure of...
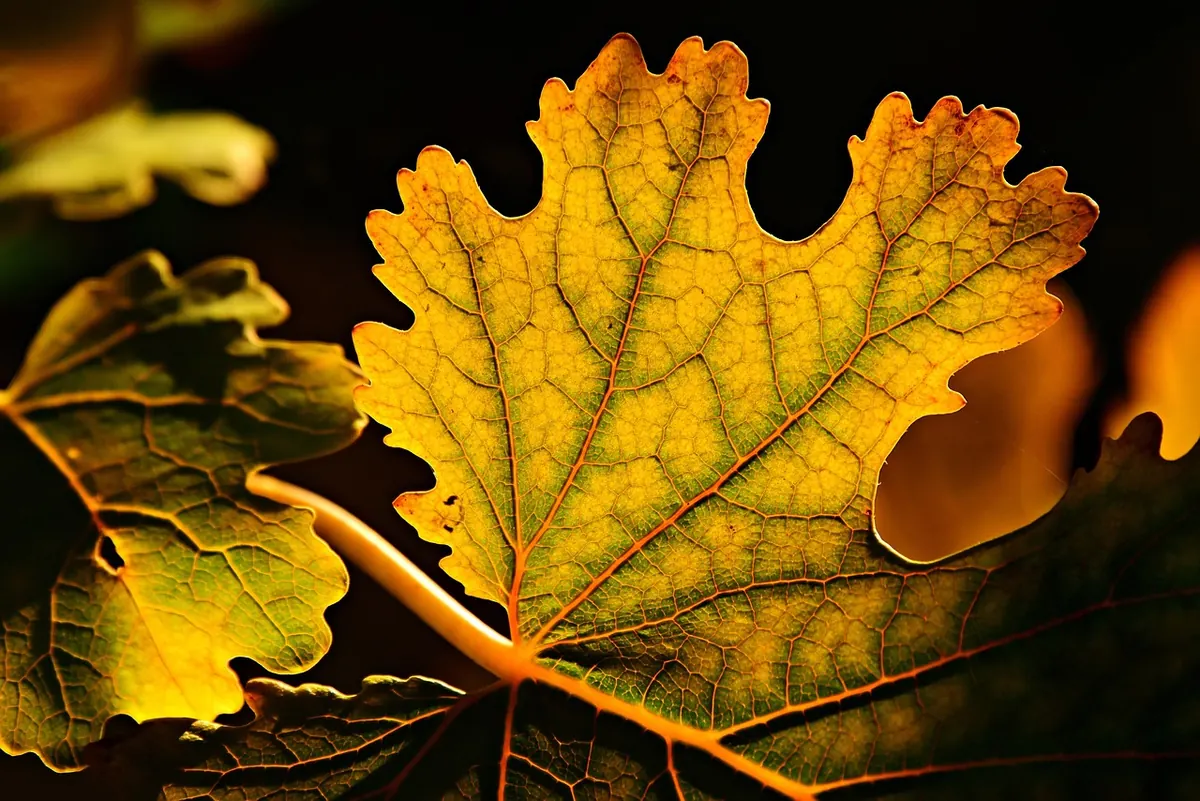
A practical guide to reading a leaf’s shape, margin, veins and attachment before you draw, with a clear step-by-step...

Twenty specific sketching prompts for the woods the day after rain — wet bark, beaded droplets, puddle mirrors,...

Sketches and inspiration from the forest.
