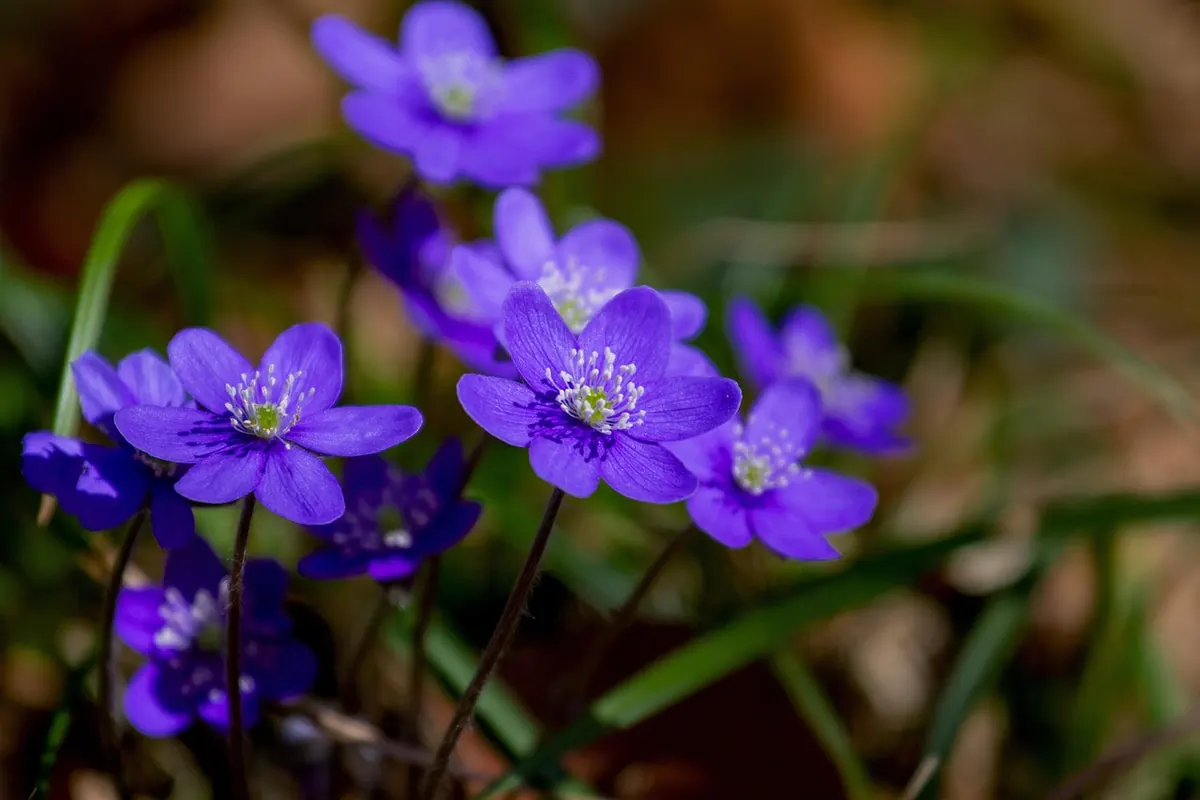
The first wood anemones open on a bank you walked past a week earlier and saw nothing at all. That is the trouble and the pleasure of spring woodland: the season arrives in increments, and each one lasts about ten days. Sketching wildflowers teaches you to catch those increments while they are still there. It also slows you down enough to notice what the flower is actually standing in — the leaf litter, the moss, the old bracken stem that keeps it steady out of the wind. What follows is how to work that short window well, from the first scouting walk to the last wash of colour on the page.
Most people arrive in the wood two weeks late. The trick is to scout first and draw second. Walk the same two or three sites from late winter onward, even when there seems to be nothing to see, and note what is coming through. You will start to recognise the sequence: the earliest things on open, disturbed ground and sunny banks, then the shade-tolerant species under the trees as the canopy closes and light drops away.
Two variables matter more than any calendar. Aspect and elevation. A south-facing bank above a stream can be a fortnight ahead of flat ground fifty metres away, and a site higher up the valley will lag behind the lowland wood by a similar margin. Learn your own sites rather than trusting a date. After a week of mild, wet weather, go and look; after a hard frost, wait.
Take notes on light as well as plants. Where does the sun land at ten in the morning, and at two in the afternoon? Ephemeral woodland flowers are often in a moving patch of light, and knowing when the beam hits a particular clump saves you a wasted morning. A pocket notebook with three lines per visit — date, weather, what has opened — becomes the most useful reference you own by the end of April.
Woodland sketching is walking with pauses, so weight matters. Anything that needs two hands to set up will stay in the bag.
Leave the folding stool at home. Kneeling in the leaf litter is part of the work, and it puts your eye level where the plant actually lives.
A wildflower is mostly air. That is the first thing to accept, and the first thing most people overdraw. Beginners outline every petal, fill in every leaf, and end up with something that looks like a diagram of a plant rather than the plant itself.
Start with a single gesture line from the base of the stem to the tip of the highest flower, drawn in one movement without lifting the pencil. It will be wrong, but it establishes the lean, the curve and the length. Then check proportions by holding your pencil at arm's length and measuring the stem against the flower head, and the flower head against the leaf. Correct the gesture line before you add anything else.
Vary the line weight deliberately. Heavy near the ground where the stem is thick and the light is low, lighter as it rises, and barely there at the petal edges. A white petal on a dark background needs almost no line at all — the shape of the shadow does the work.
Bluebells, wild garlic and Solomon's seal all present the same difficulty: a form that curves away from you. Draw the mouth of the bell as an ellipse, and check that the two curves of the rim bow in the correct direction relative to your eye. If the ellipse is wrong, no amount of petal detail will fix it. Practise a dozen free ellipses on a spare page before you start on the plant.
Habitat details are what separate a field-guide drawing from a sketch that could only have been made in one place on one morning. Note where the stem leaves the soil and at what angle. Look at what it leans against: a beech root, a fallen twig, last year's dry teasel. Old brown stems are a gift to a spring drawing, because they give you a dark, angular foil for all that fresh green.
Draw a little of the litter, not all of it. Three or four leaves, a scrap of moss, the shadow of a branch across the page. Dappled light is not something to chase across the paper — pick one pattern, note the time, and hold it.
A small palette forces honesty. One yellow, one red, one blue, a raw umber and a sap green will carry you through the whole spring. Mix your greens from yellow and blue rather than reaching for a tube: woodland green in March is cool and grey, and tubed greens rarely are.
The whites are the real test. Wood anemone, wood sorrel and wild garlic are never white. Their shadows lean blue-violet in cool light and yellow-green in warm light. Lay a very thin glaze, let it dry, and build up rather than mixing a strong wash and trying to lift it. If the paper buckles, you used too much water.
Work in sets. A two-minute thumbnail to fix the gesture and the angles, a ten-minute study of the whole plant, and a slower twenty-minute piece of a single bloom or a single leaf at twice life size. The fast one teaches you what you actually know; the slow one shows you what you have been guessing at.
Return to the same species three times across the season — in bud, in full flower, and going over. Drawing the decline is often more interesting than drawing the peak, and the seed heads will reward you in June.
Write on your sketches. Date, place, weather, soil, what the plant was growing beside, what was in flower around it. Add a small colour swatch next to the flower head so you can match it later without guessing. These annotations are the difference between a pleasant drawing and a record you can learn from next spring.
Work from life and leave the plant where it is. Do not pick or dig wildflowers, and never lift anything from a nature reserve; a hand lens, a camera and a sketchbook will get you further than a trowel. Fallen petals and seed cases are fair game, and pressing one into the corner of a page is a good way to end a morning.
Ten days is not long. Go out early in the morning when the light is low and the wood is quiet, work small and quickly, and let the ground and the weather into the drawing. The flowers will do the rest.
Photo: 5598375 / Pixabay
A practical guide to sketching Mediterranean woodland edges in late summer, from reading the layered structure of...
A practical guide to reading a leaf’s shape, margin, veins and attachment before you draw, with a clear step-by-step...
Twenty specific sketching prompts for the woods the day after rain — wet bark, beaded droplets, puddle mirrors,...

Sketches and inspiration from the forest.