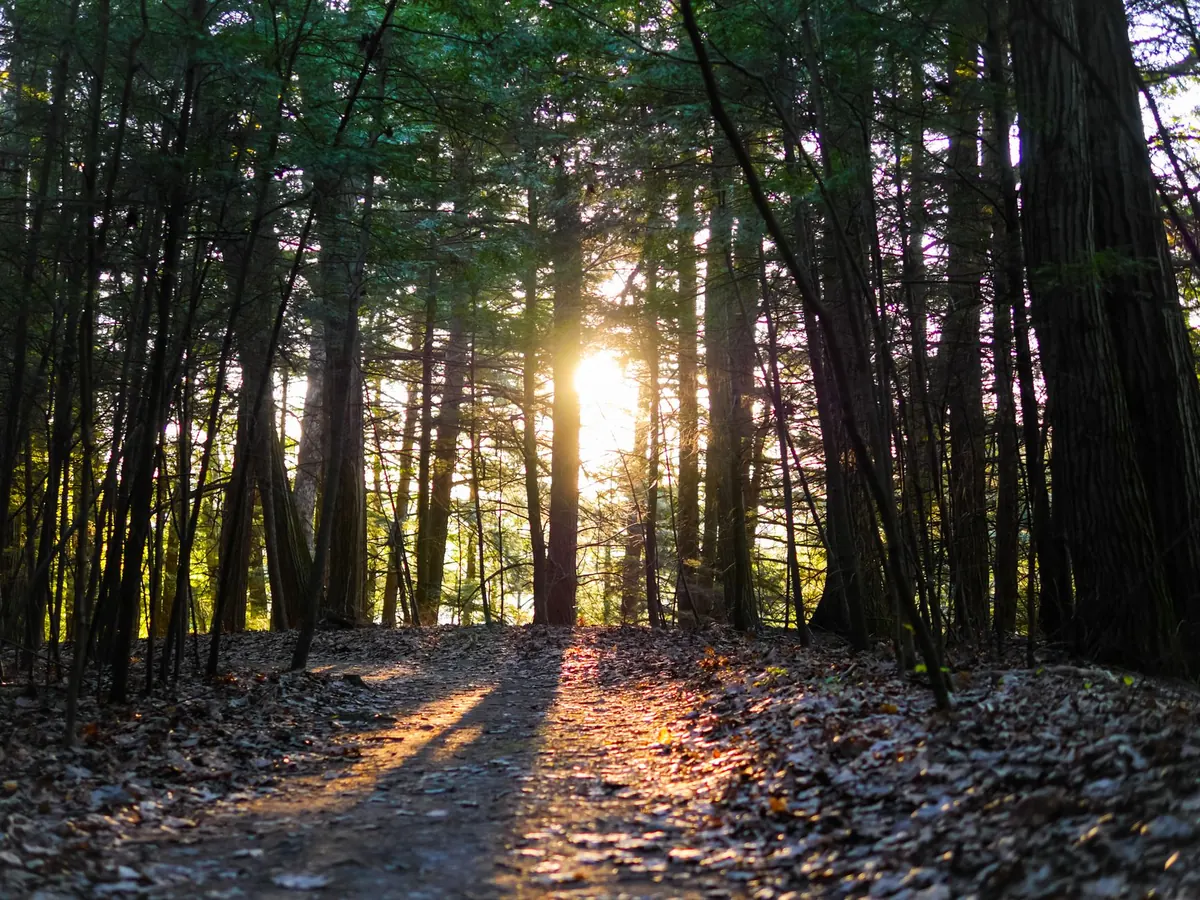
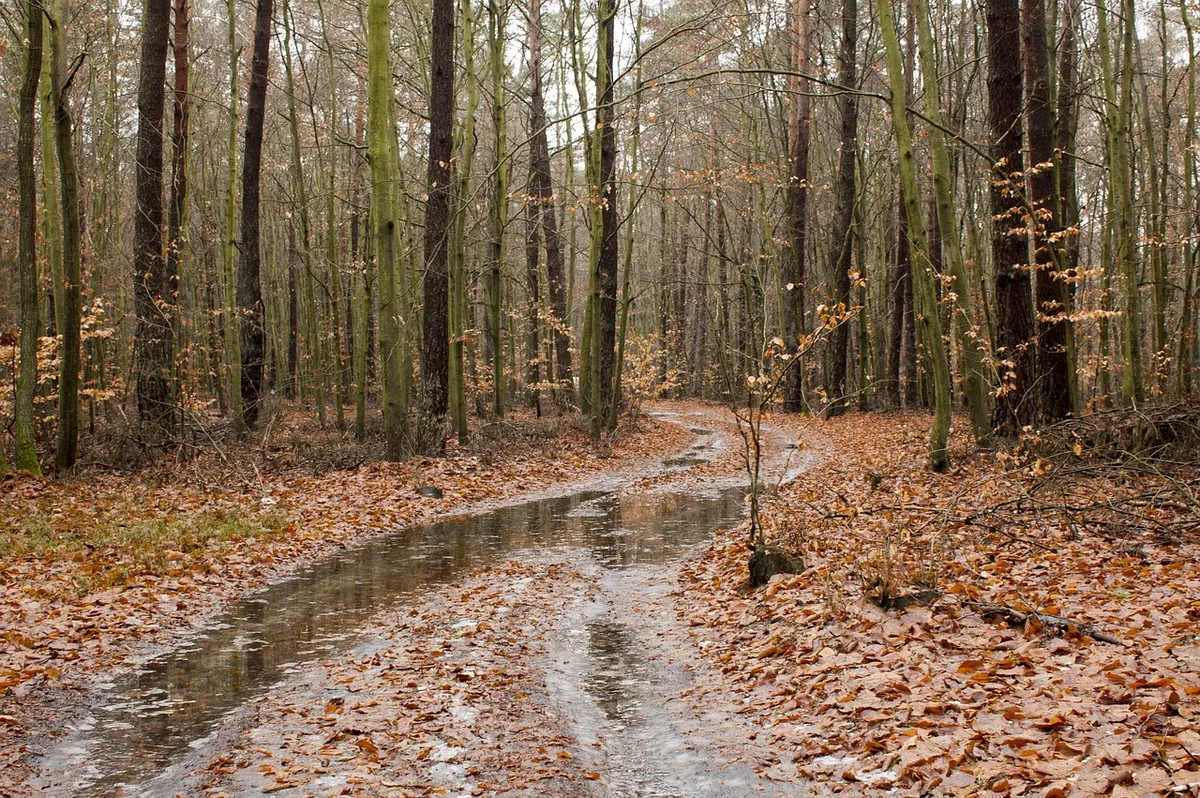
A forest path at mid-morning is a moving target. Sun comes through the canopy in patches, the patches slide across the leaf litter, and by the time you have drawn the third trunk the brightest shape on the ground has already crawled two feet to the left. That is not a reason to give up on outdoor drawing. It is a reason to change the order of operations. Thirty minutes is enough to catch the essential thing — the pattern of light and the way the path pulls the eye inward — if you stop drawing the forest and start drawing the light.
Decide the length of the session while you are still standing on the trail with your bag on your shoulder. Thirty minutes, split roughly like this: five minutes to choose and read the scene, ten to build the structure, ten to lay in light and shade, five to finish and pack up. Having the split in your head stops the slow drift that turns a sketch into an afternoon.
Walk until you find a stretch of path with two things: a bend or narrowing, and at least one strong patch of sun hitting the ground. Both give you something to hang the drawing on. Then check the sun. Note which shoulder it is over and how sharply the shadow edges are defined. The sun moves about fifteen degrees an hour, so in a half-hour session the light will visibly shift; soft-edged shadows on the ground will blur further and hard edges will travel. Pick a view where you can accept that, and work from the shapes as they are in the first two minutes rather than chasing them.
Squint hard, or look through your eyelashes. The trunks, the ferns, the leaf litter all fall away and you are left with a light shape and a dark shape. That is your subject. Everything else is decoration.
Make a thumbnail no bigger than a matchbox, in two values only: leave the paper white for sun, and shade the shadow mass with the side of a soft pencil. Ninety seconds, no erasing. The point is to answer one question — which bright patch is the biggest, and does it touch the path? The answer decides your composition.
Dappled shadow is not a scatter of separate spots, even when it looks like one. It is one continuous mass with bays and inlets, bitten by bright gaps. Draw the mass as a single shape and you will get the flicker for free; draw the spots one by one and the drawing goes dead and speckled.
The path edges are the skeleton of the drawing. Get them wrong and no amount of careful shading will rescue the depth. Three points matter most:
Mark those three, then connect them with lines that converge. An edge is a zone, not a wire: a soft fringe of leaf litter, gravel spill, moss creeping over the soil. Draw the firm part of the edge, then break the line where sun hits it so the path appears to open up. Where a shadow crosses the path, let it cross the edge line too. That small overlap is what makes the light feel like it sits on top of the ground rather than beside it.
Depth comes from three cues working together: the edges converging, the path narrowing as it recedes, and detail dropping away in the distance. If you have drawn the third, you can be loose about the first two.
Three values are enough for a forest: paper white for direct sun, a midtone for filtered light and dry leaf litter, and a dark for deep shade, trunk bases and hollows under roots. More values in thirty minutes means mud. Spend your time instead on the shape of the boundary between white and dark, because that edge is where the drawing lives.
Keep the whites completely untouched. Not a stray pencil mark, not a thumbprint. The sparkle in a sunlit path comes from the contrast between a clean white patch and a dark pressed right against it, and it takes far fewer darks than people expect.
Then check the direction. Every shadow shape should agree on where the light comes from, and every bright patch should lie on the ground plane rather than floating. Hold your pencil up against the scene, line it up with the long axis of a shadow, and bring that angle down onto the paper.
The order matters more than the times. If you find yourself at minute twenty still describing bark texture, you have skipped the light and you will not get it back.
A path drawing improves in direct proportion to what you refuse to include. Leave out individual leaves. Leave out every trunk past the third one; a suggestion of vertical rhythm in the distance is enough. Leave out overhead branches crossing the top of the frame unless one of them casts a shadow that lands on the path. Leave out texture in the far half of the drawing entirely — soften it and let it read as distance.
If a detail tempts you, ask whether it changes where the light falls. If it does not, it belongs in your memory of the place, not on this page.
Before you close the book, step back three paces and compare the drawing to the scene with a squint. The two should agree on one thing: where the brightest patch sits. If they do, the sketch has done its job.
Then turn the page over and write three short notes: the time, the sun direction, and the one thing you would change. Photograph the scene next to the sketch so you can compare them later. It takes forty seconds and it turns a quick study into something you can actually learn from — the next time you sit down on a forest path, you will recognise the shape of the light sooner and get your first block-in down before the shadows have moved.
Photo: Faculty Cinema / Pexels
A practical guide to sketching Mediterranean woodland edges in late summer, from reading the layered structure of...
A practical guide to reading a leaf’s shape, margin, veins and attachment before you draw, with a clear step-by-step...
Twenty specific sketching prompts for the woods the day after rain — wet bark, beaded droplets, puddle mirrors,...

Sketches and inspiration from the forest.